■
Note: You must be the org's Google admin to complete the steps below. You'll also need to have Salesforce System administrator access.
Table of Contents
Configure G Suite for SSO
Configure SAML 2.0 in Salesforce
Note:
If you have not yet added a My Domain to your Simpplr instance, please do so before configuring your SSO. This article will walk you through the steps to create a My Domain. Your Salesforce System admin will need to set this up.Configure G Suite for SSO
- Log in to https://admin.google.com.
- Navigate to Apps > Web and mobile Apps > Add app > Add custom SAML app.
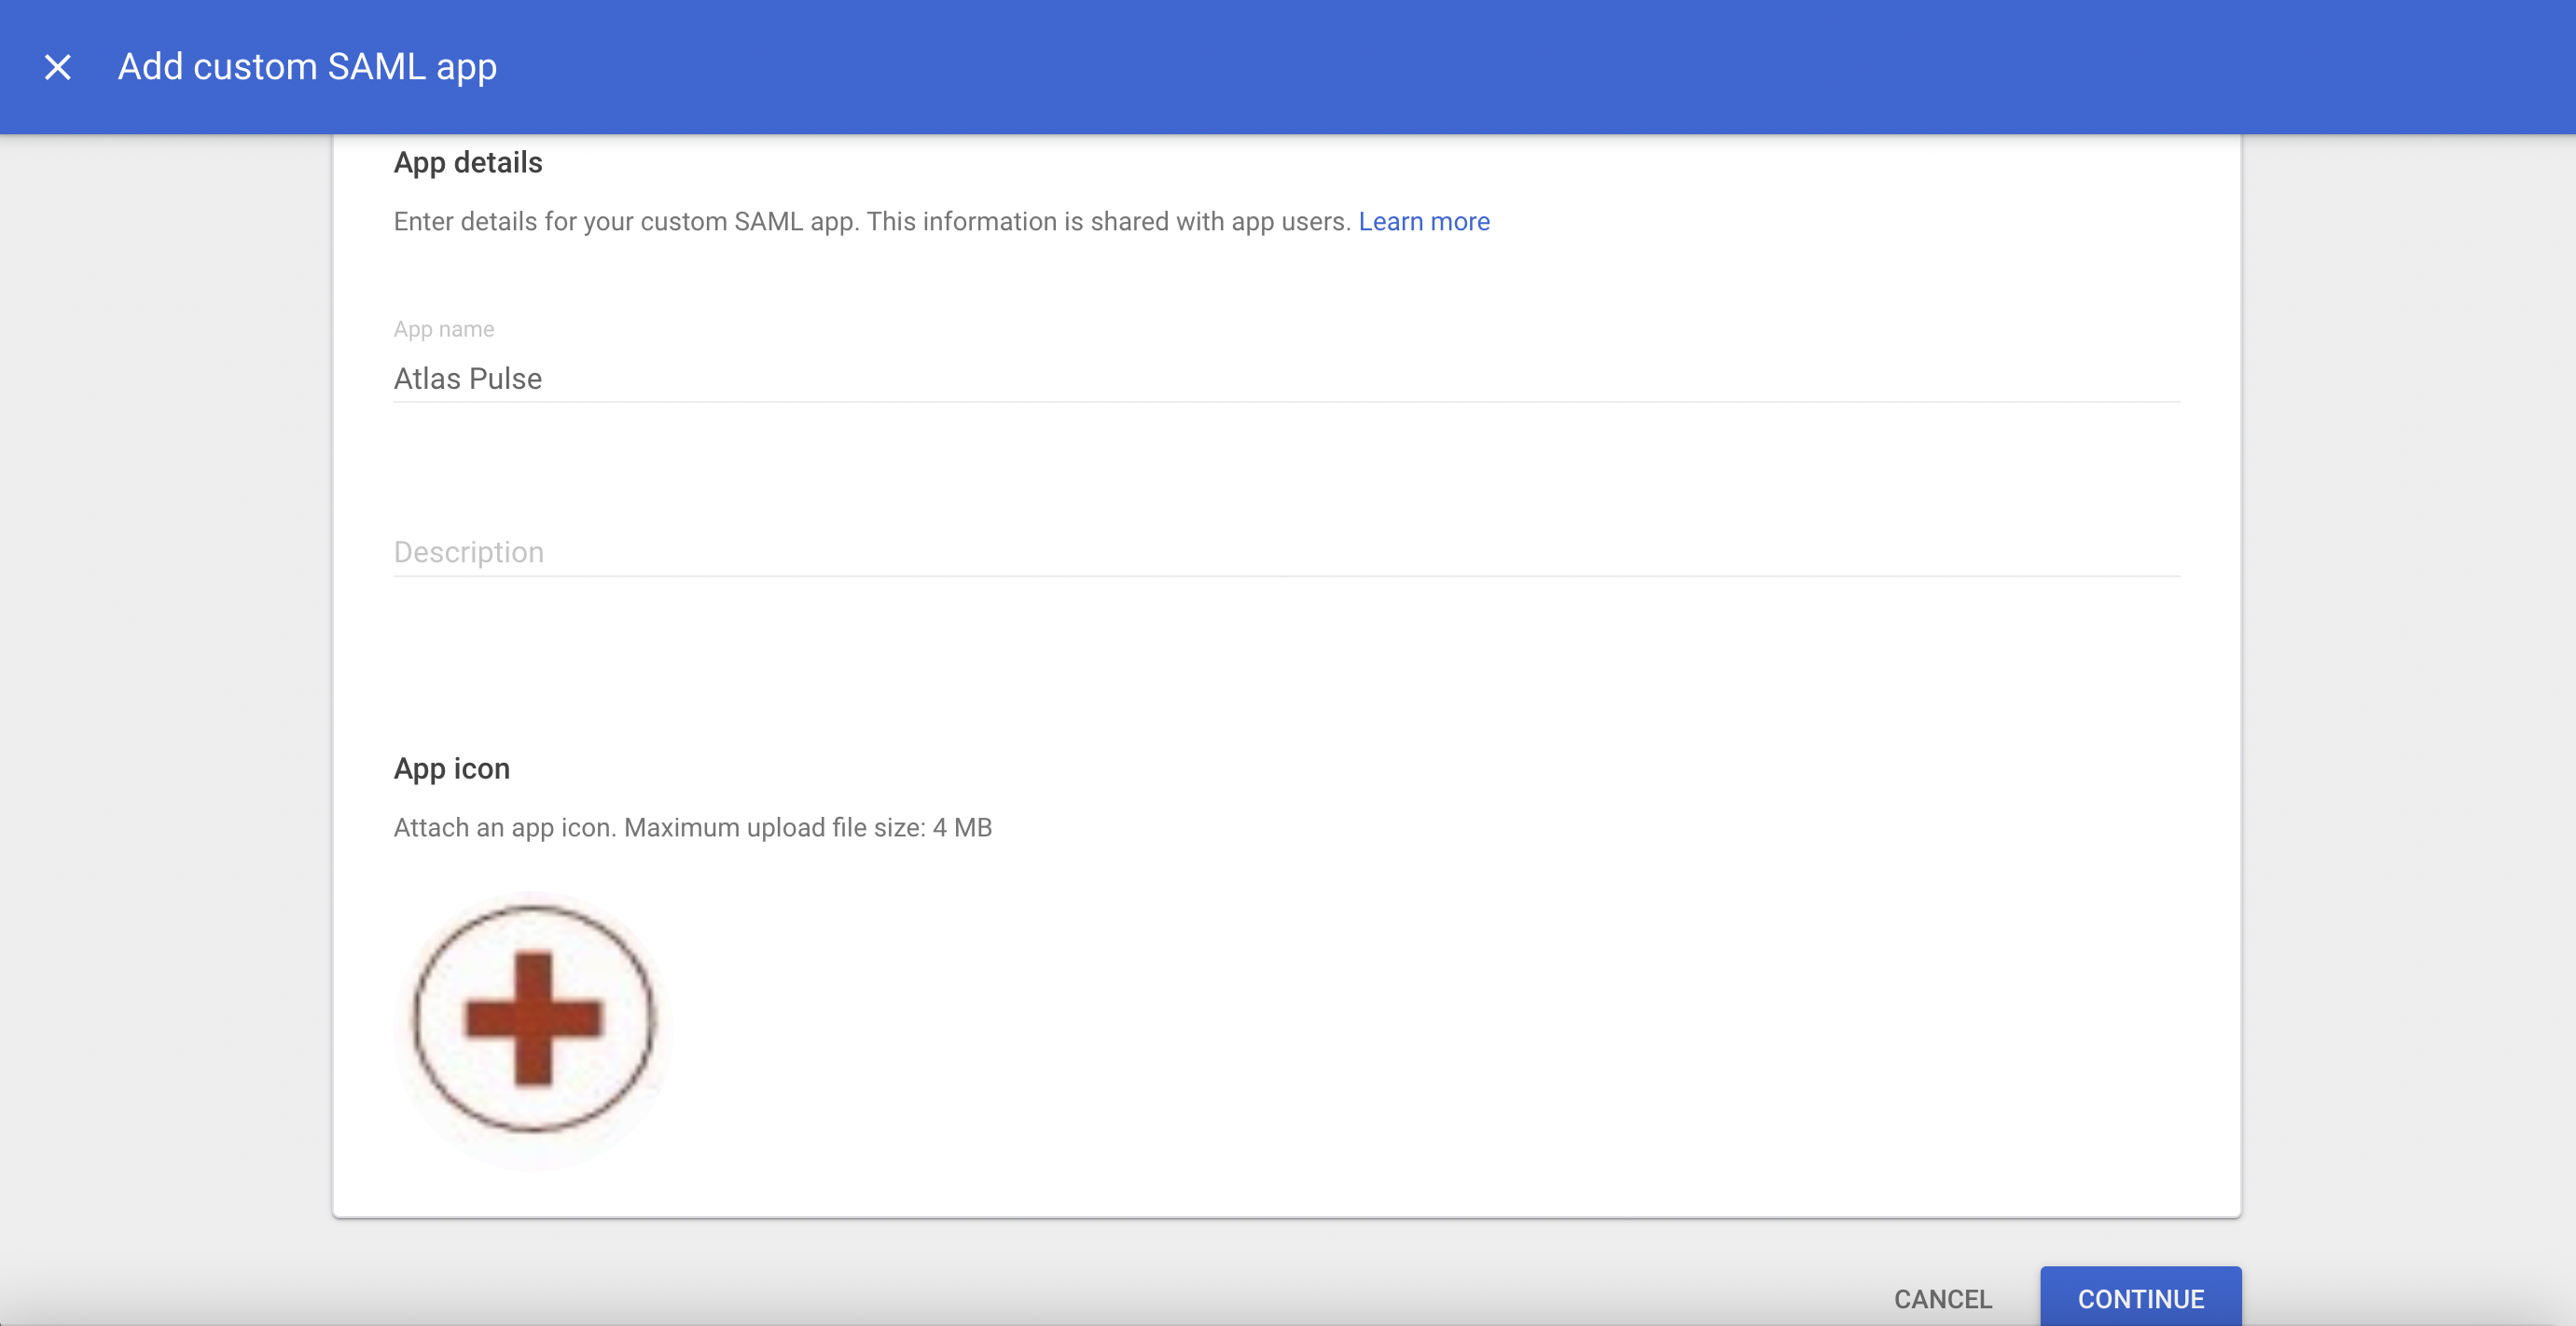
- Name your app whatever you'd like. We recommend going with "Simpplr" or your intranet name. Add an icon if you wish. This icon will show up in G Suite in your apps window.
- Click Continue.
- From the next screen you'll see two options. In Option 1, download the IdP metadata file. Keep the file somewhere you'll easily remember. You'll need it later. Scroll down and click CONTINUE.
- Now you'll be asked to fill in the ACS URL, Entity ID and Start URL.
- The ACS URL and Entity ID will both be your Salesforce URL; everything up to the .com. Example: https://mydomain.my.salesforce.com
- The Start URL will be your Simpplr Home dashboard URL; everything up until the question mark. Example: https://mydomain--simpplr.vf.force.com/apex/simpplr__app
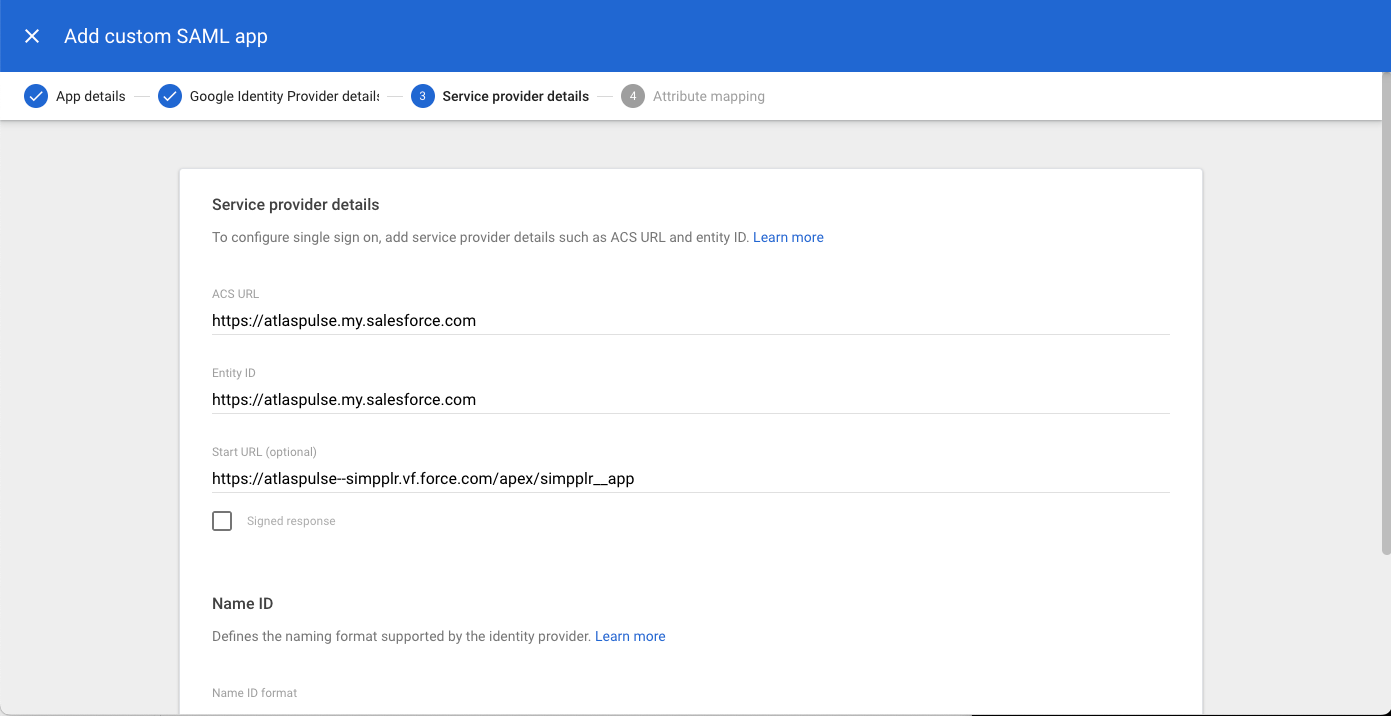
- Leave the Name ID settings as is. Click CONTINUE.
- From the next screen, leave the settings as is. Then click FINISH.
- You'll be directed back to the Web and mobile apps page, where you'll see your newly created app. Click User access.
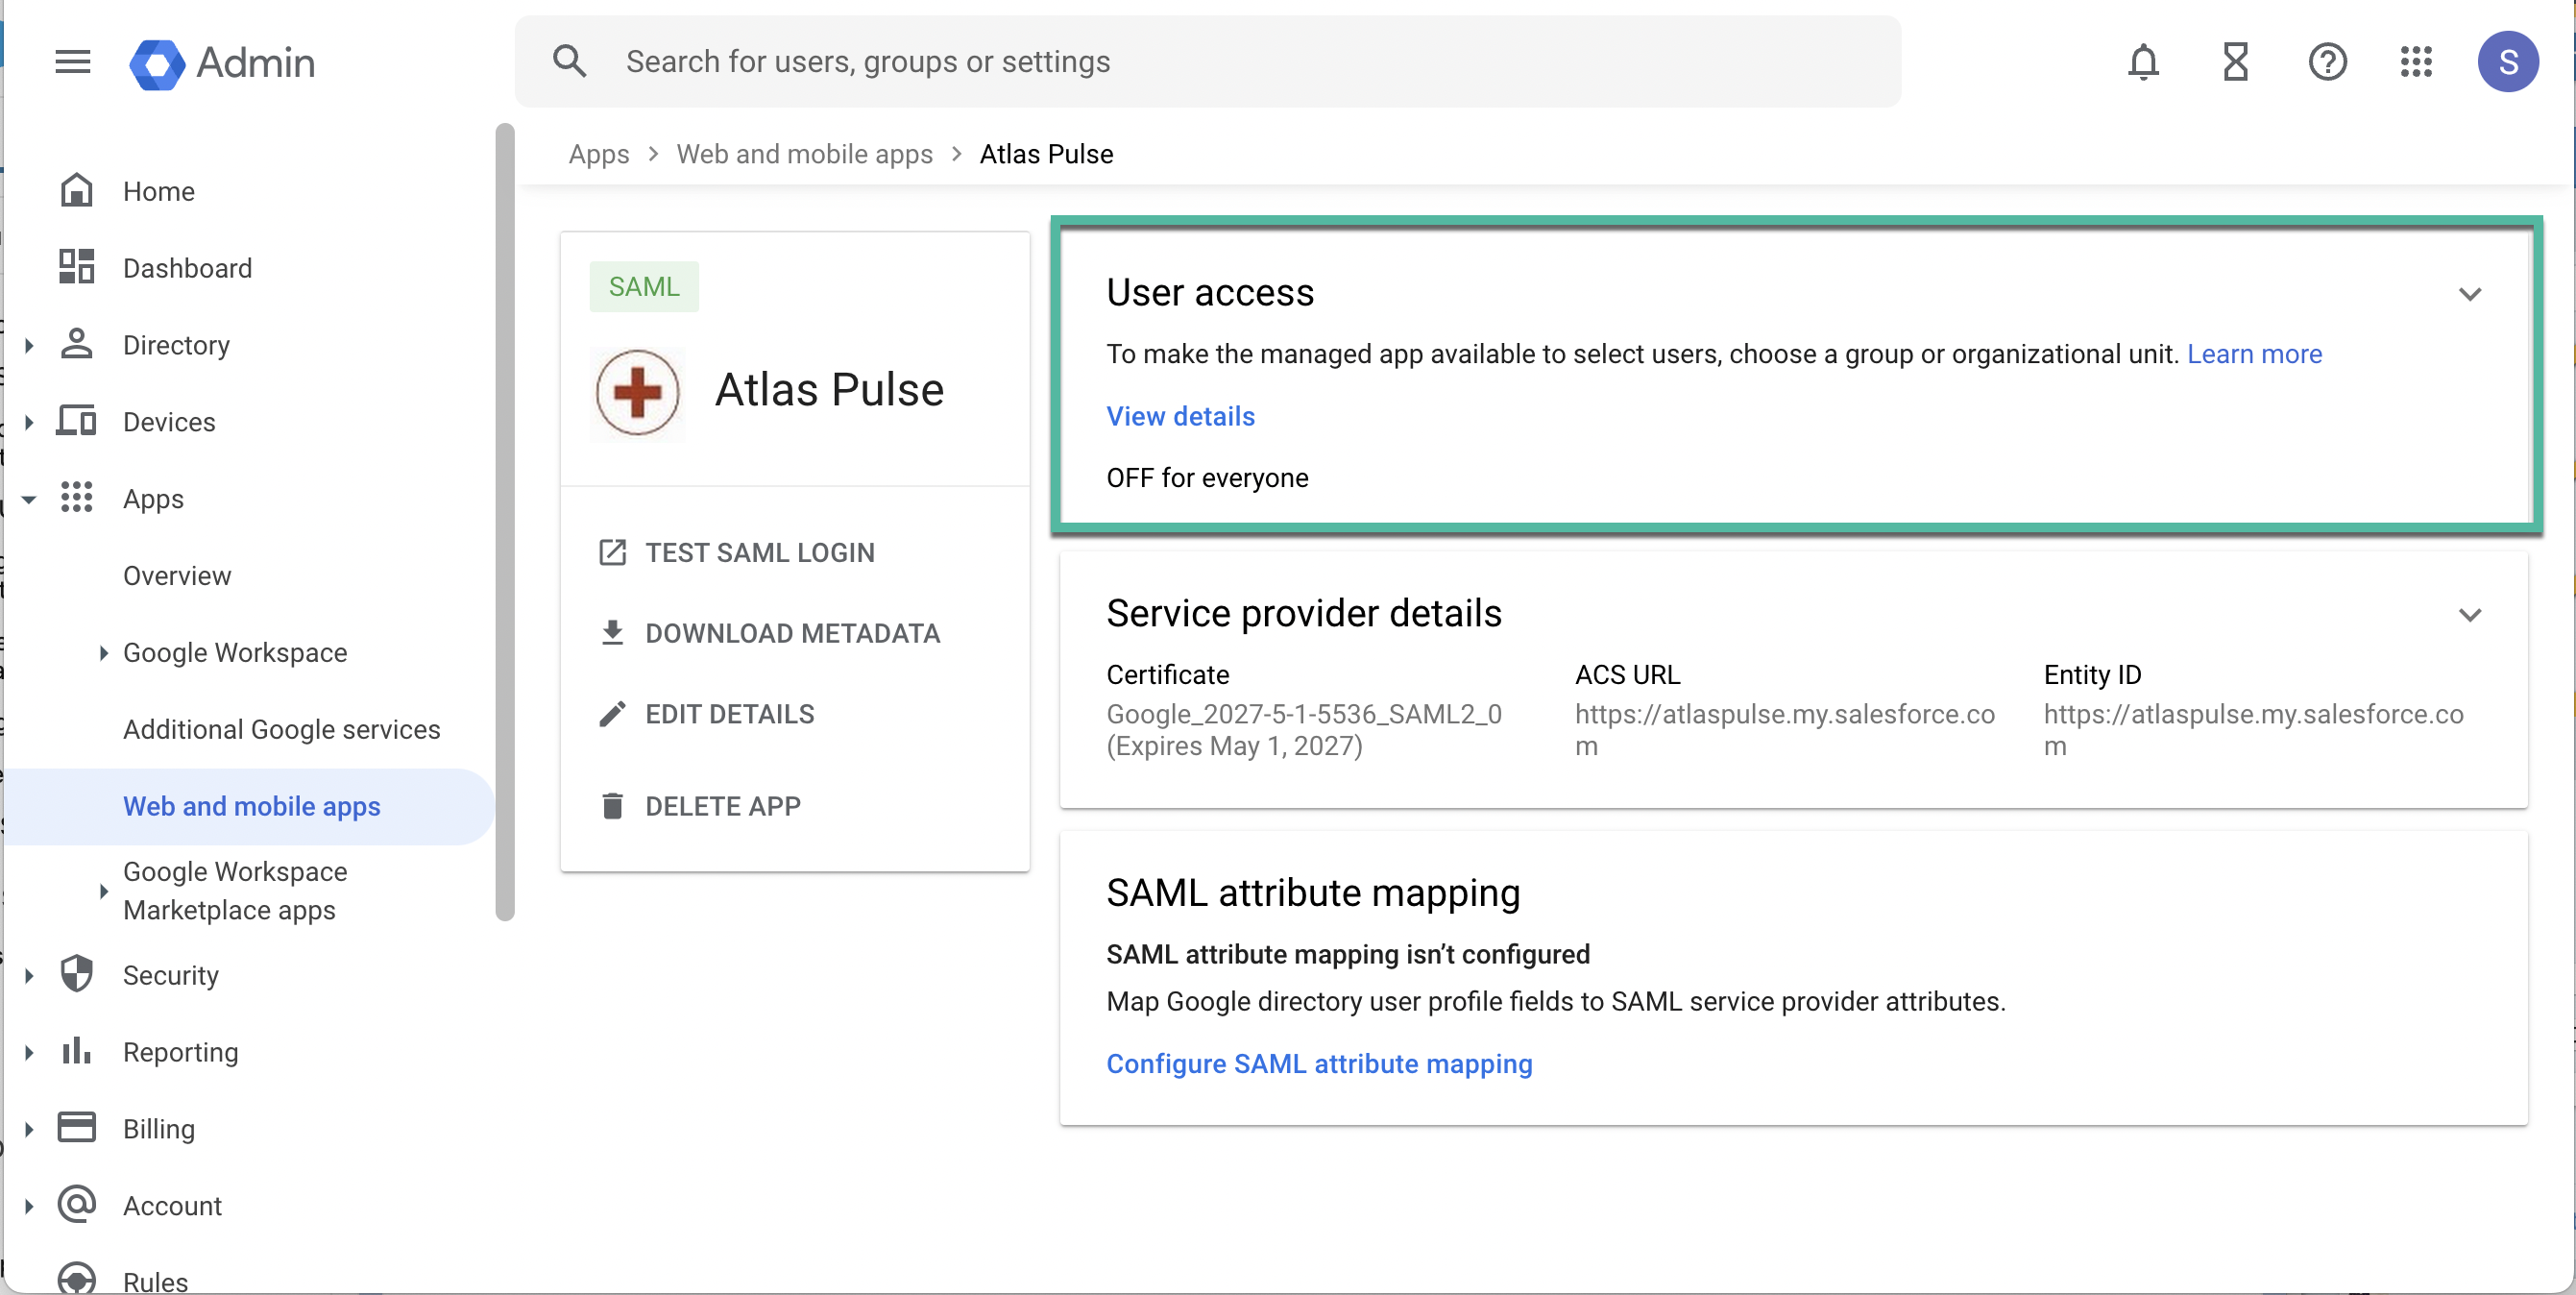
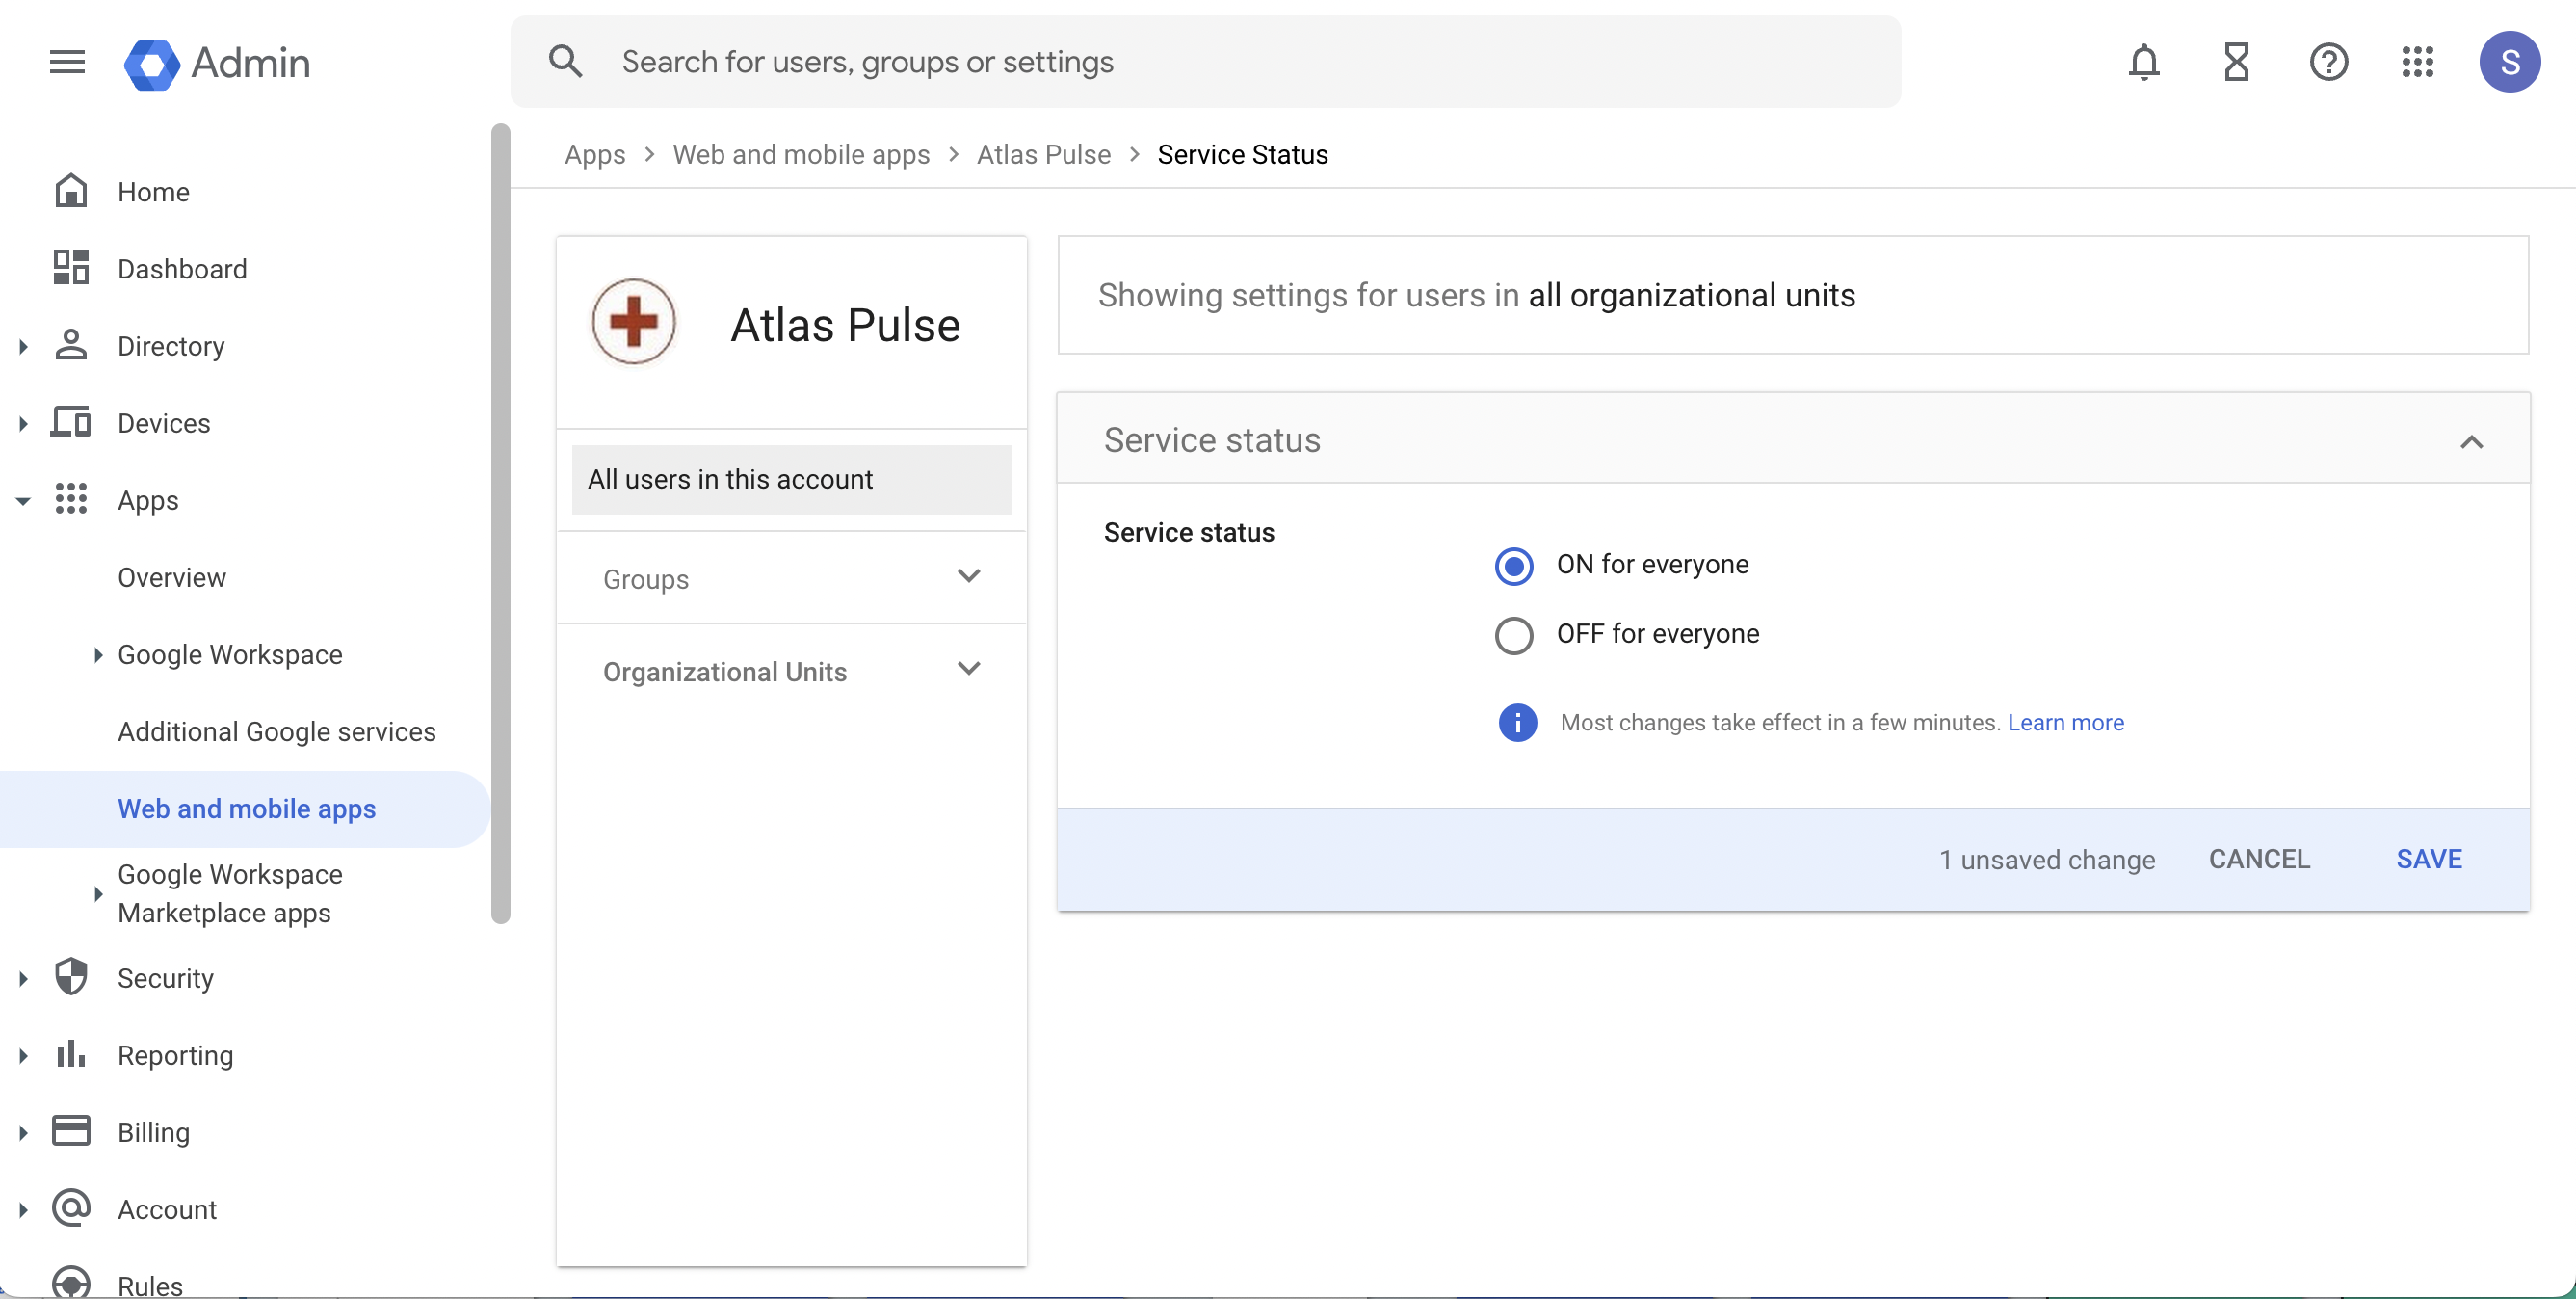
- In the Service status menu, you'll see the option to toggle ON for everyone/OFF for everyone. Select ON for everyone. If you don't wish to allow visibility for everyone in your org, you can search for a group on the left hand side to allow access to. This is helpful in case before you go live you don't want your employees to see the application. You can create a group of only your project team to see the application.
- Once finished, click SAVE.
- That's it for the Google side for now. Now we're ready to configure in Salesforce.
Configure SAML 2.0 in Salesforce
- Log in to Salesforce with the same administrator username and password used for User Management settings in G Suite.
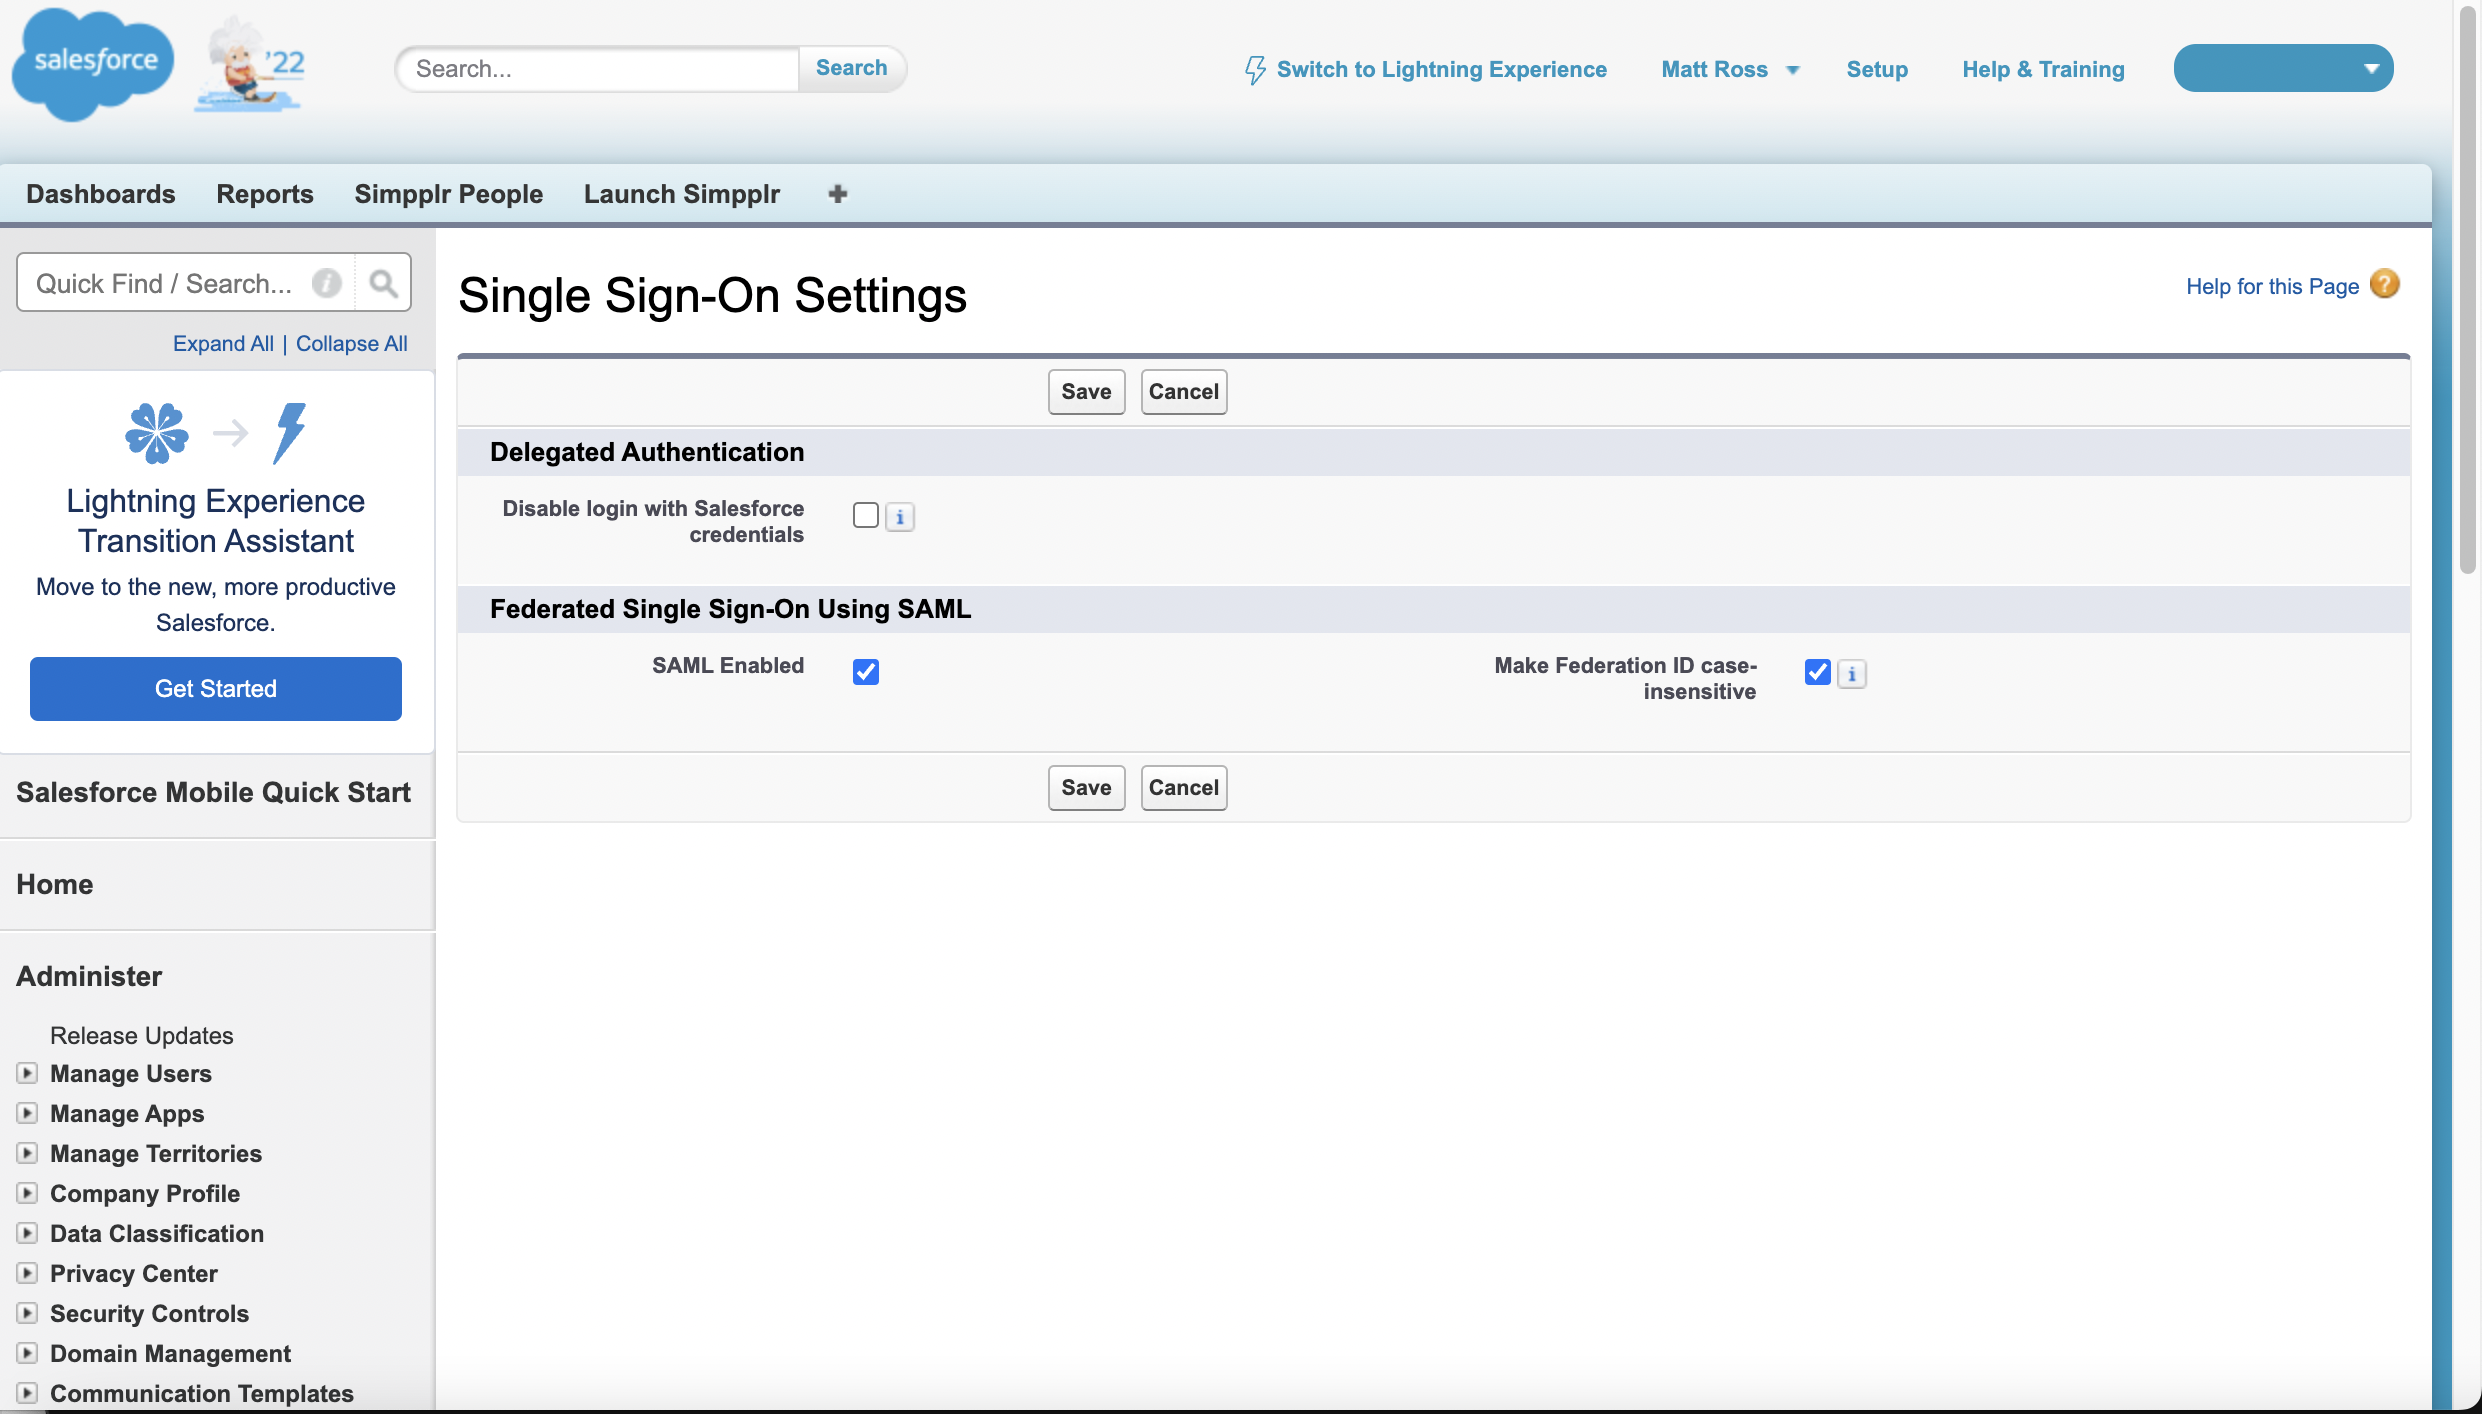
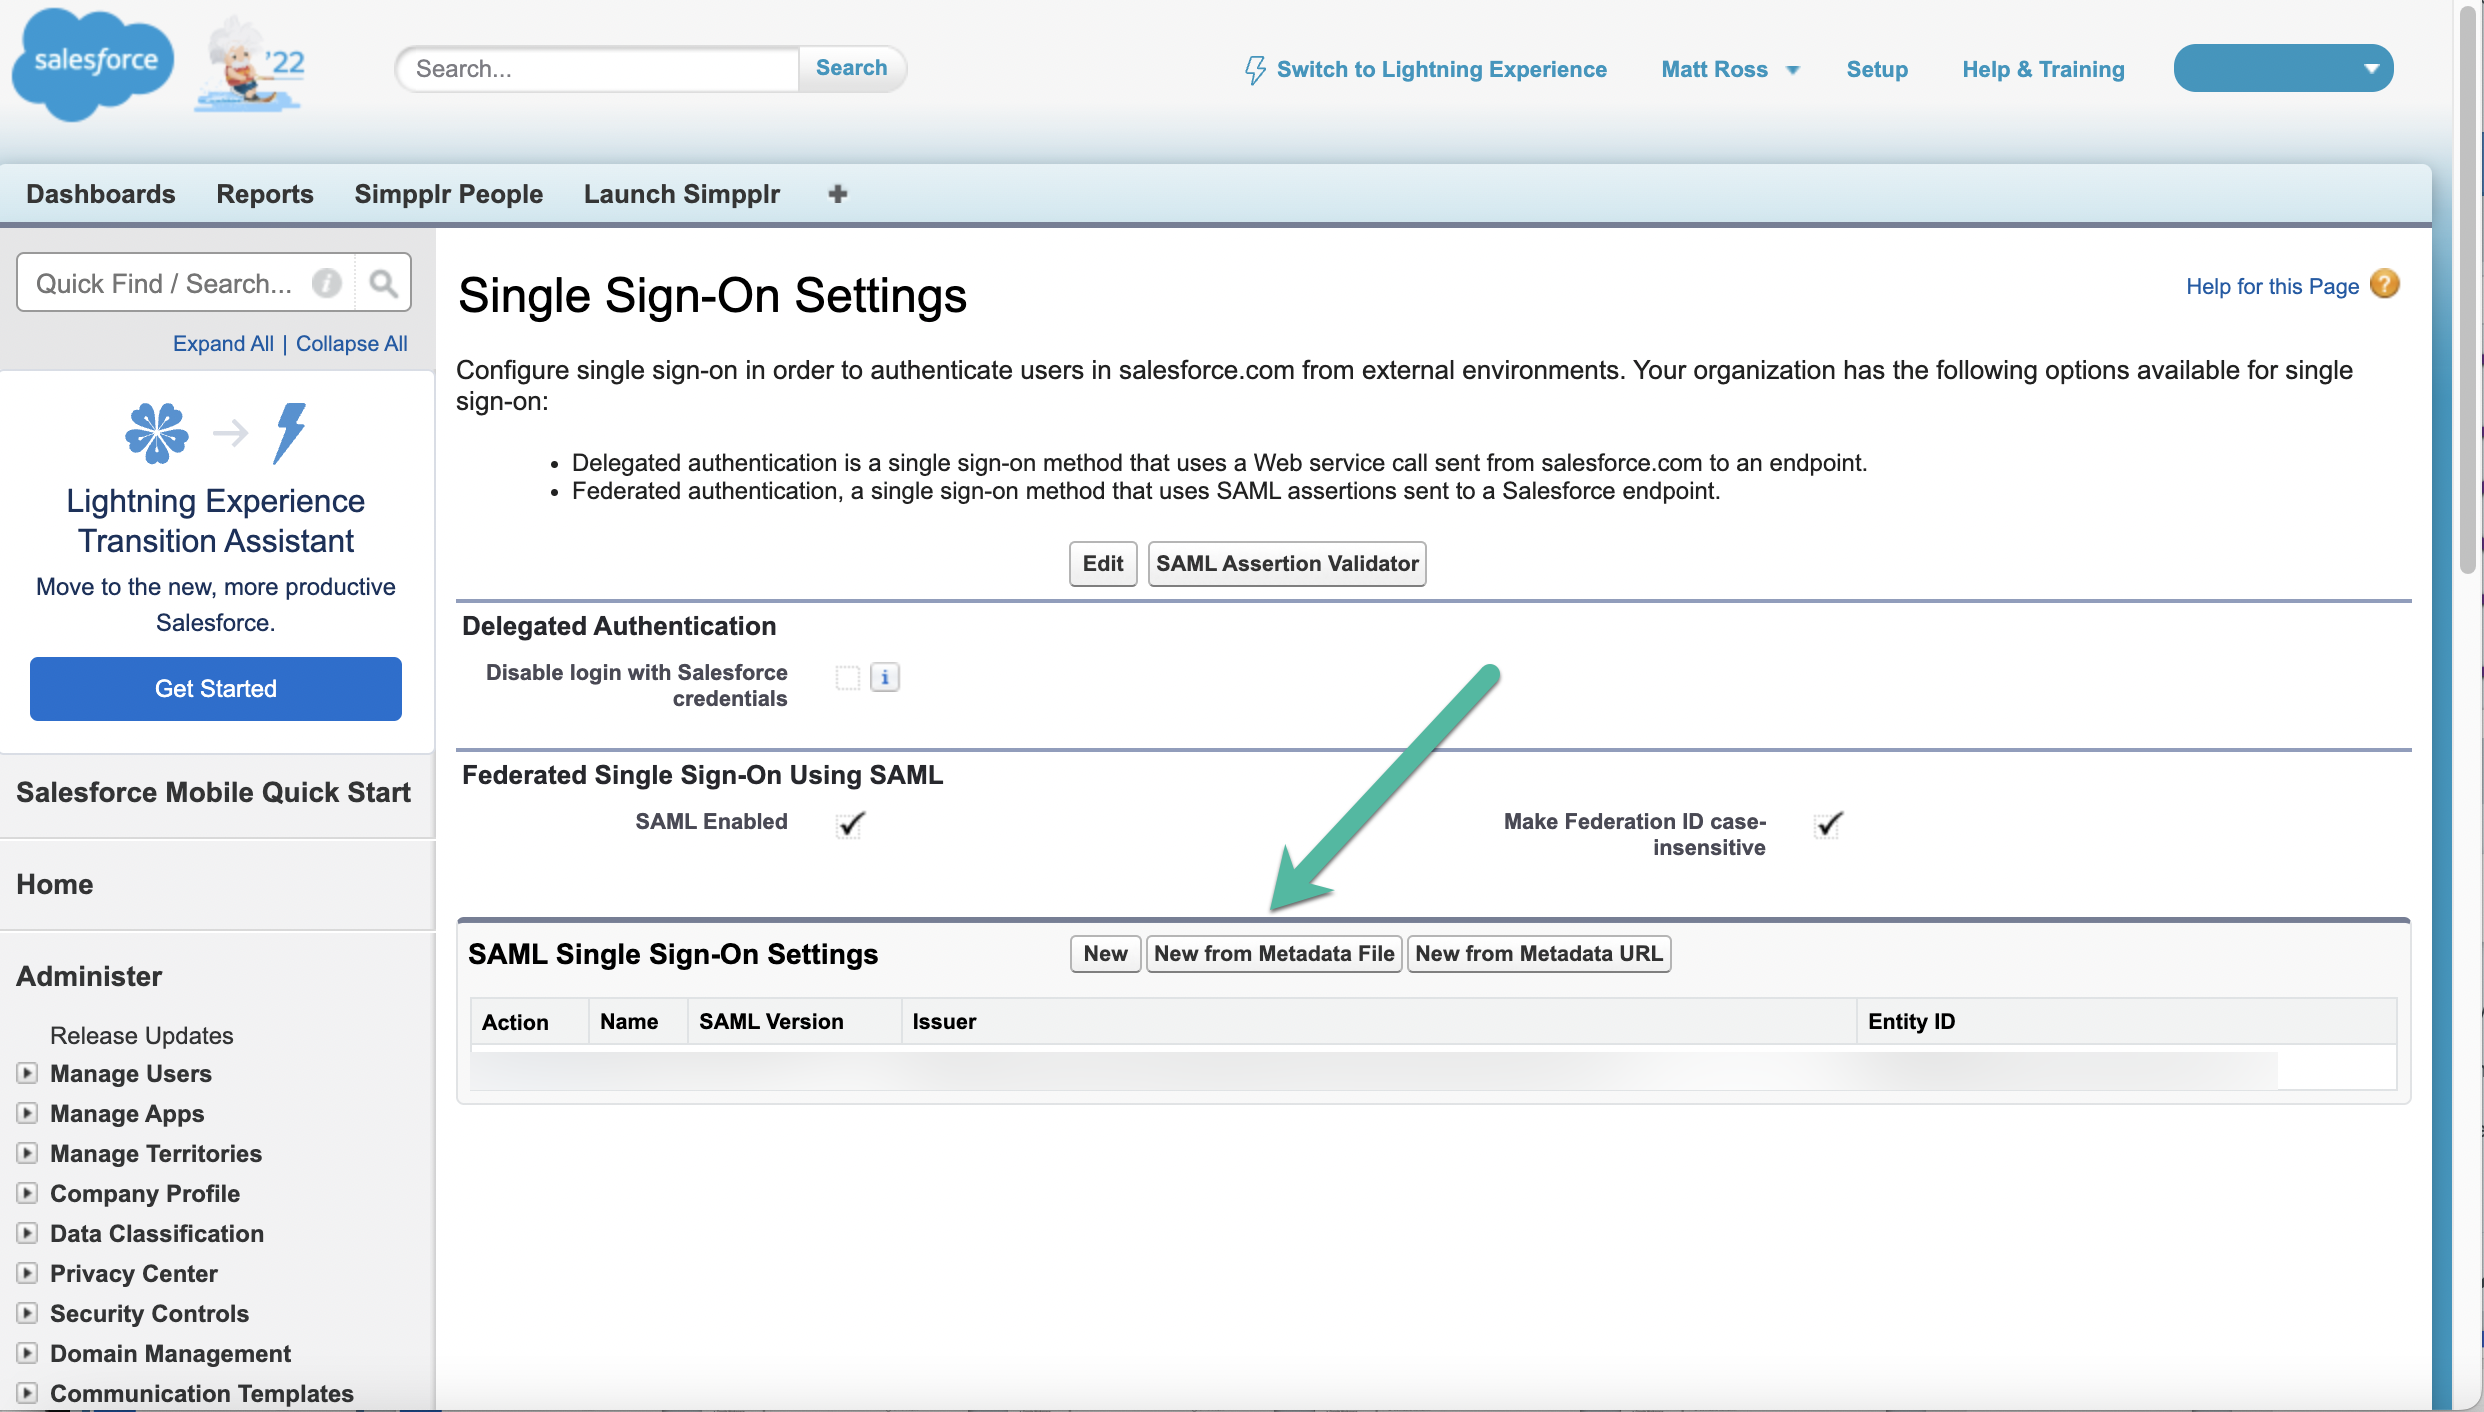
- From Setup, type Single Sign-On into the Quick Find box and select Single Sign-On Settings.
- Click Edit and check the SAML Enabled and Make Federation ID case-insensitive boxes to enable SAML Single Sign-On, then click Save.
- Next, in the list at the bottom of your page, select New from the Metadata File to add a new SAML SSO configuration.
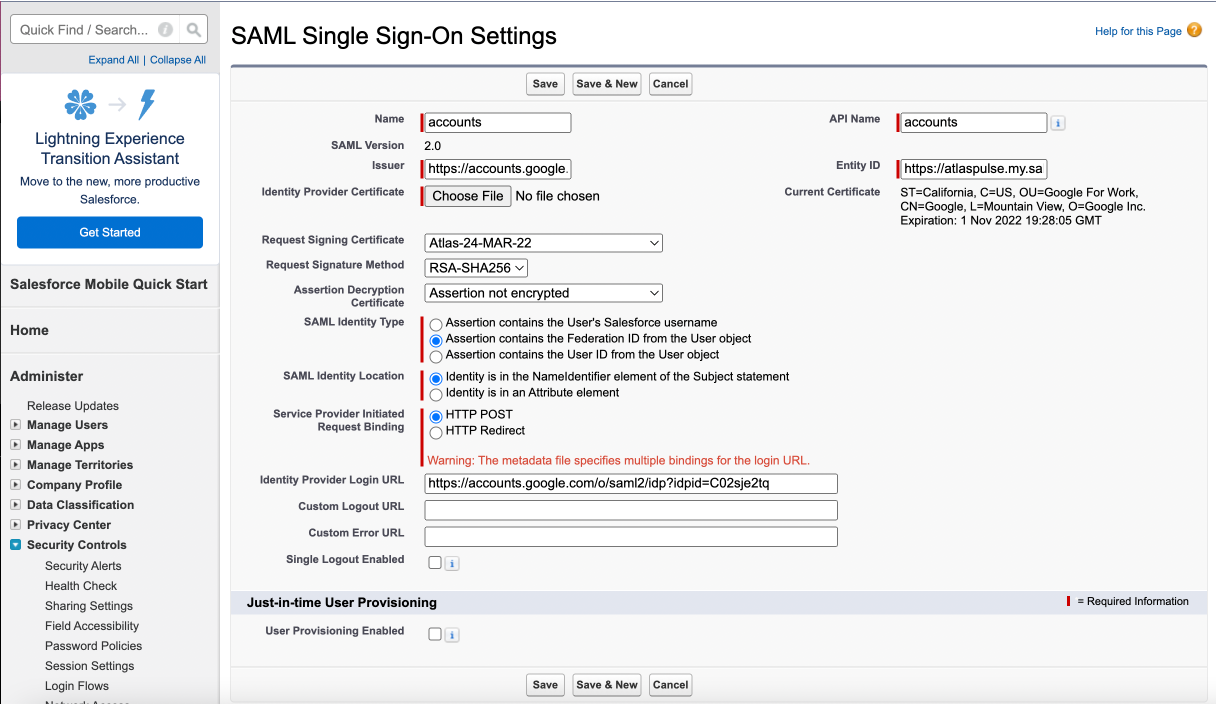
- From here, upload the metadata file you downloaded from G Suite. Click Create to configure the SAML settings in Salesforce. You'll be redirected to a page similar to what you see below.
- Name this whatever you'd like. You can leave the name as you wish. Change the SAML Identity Type to Assertion contains the Federation ID from the User object. Ensure the Service Provider Initiated Request Binding is set to HTTP POST, then click Save.
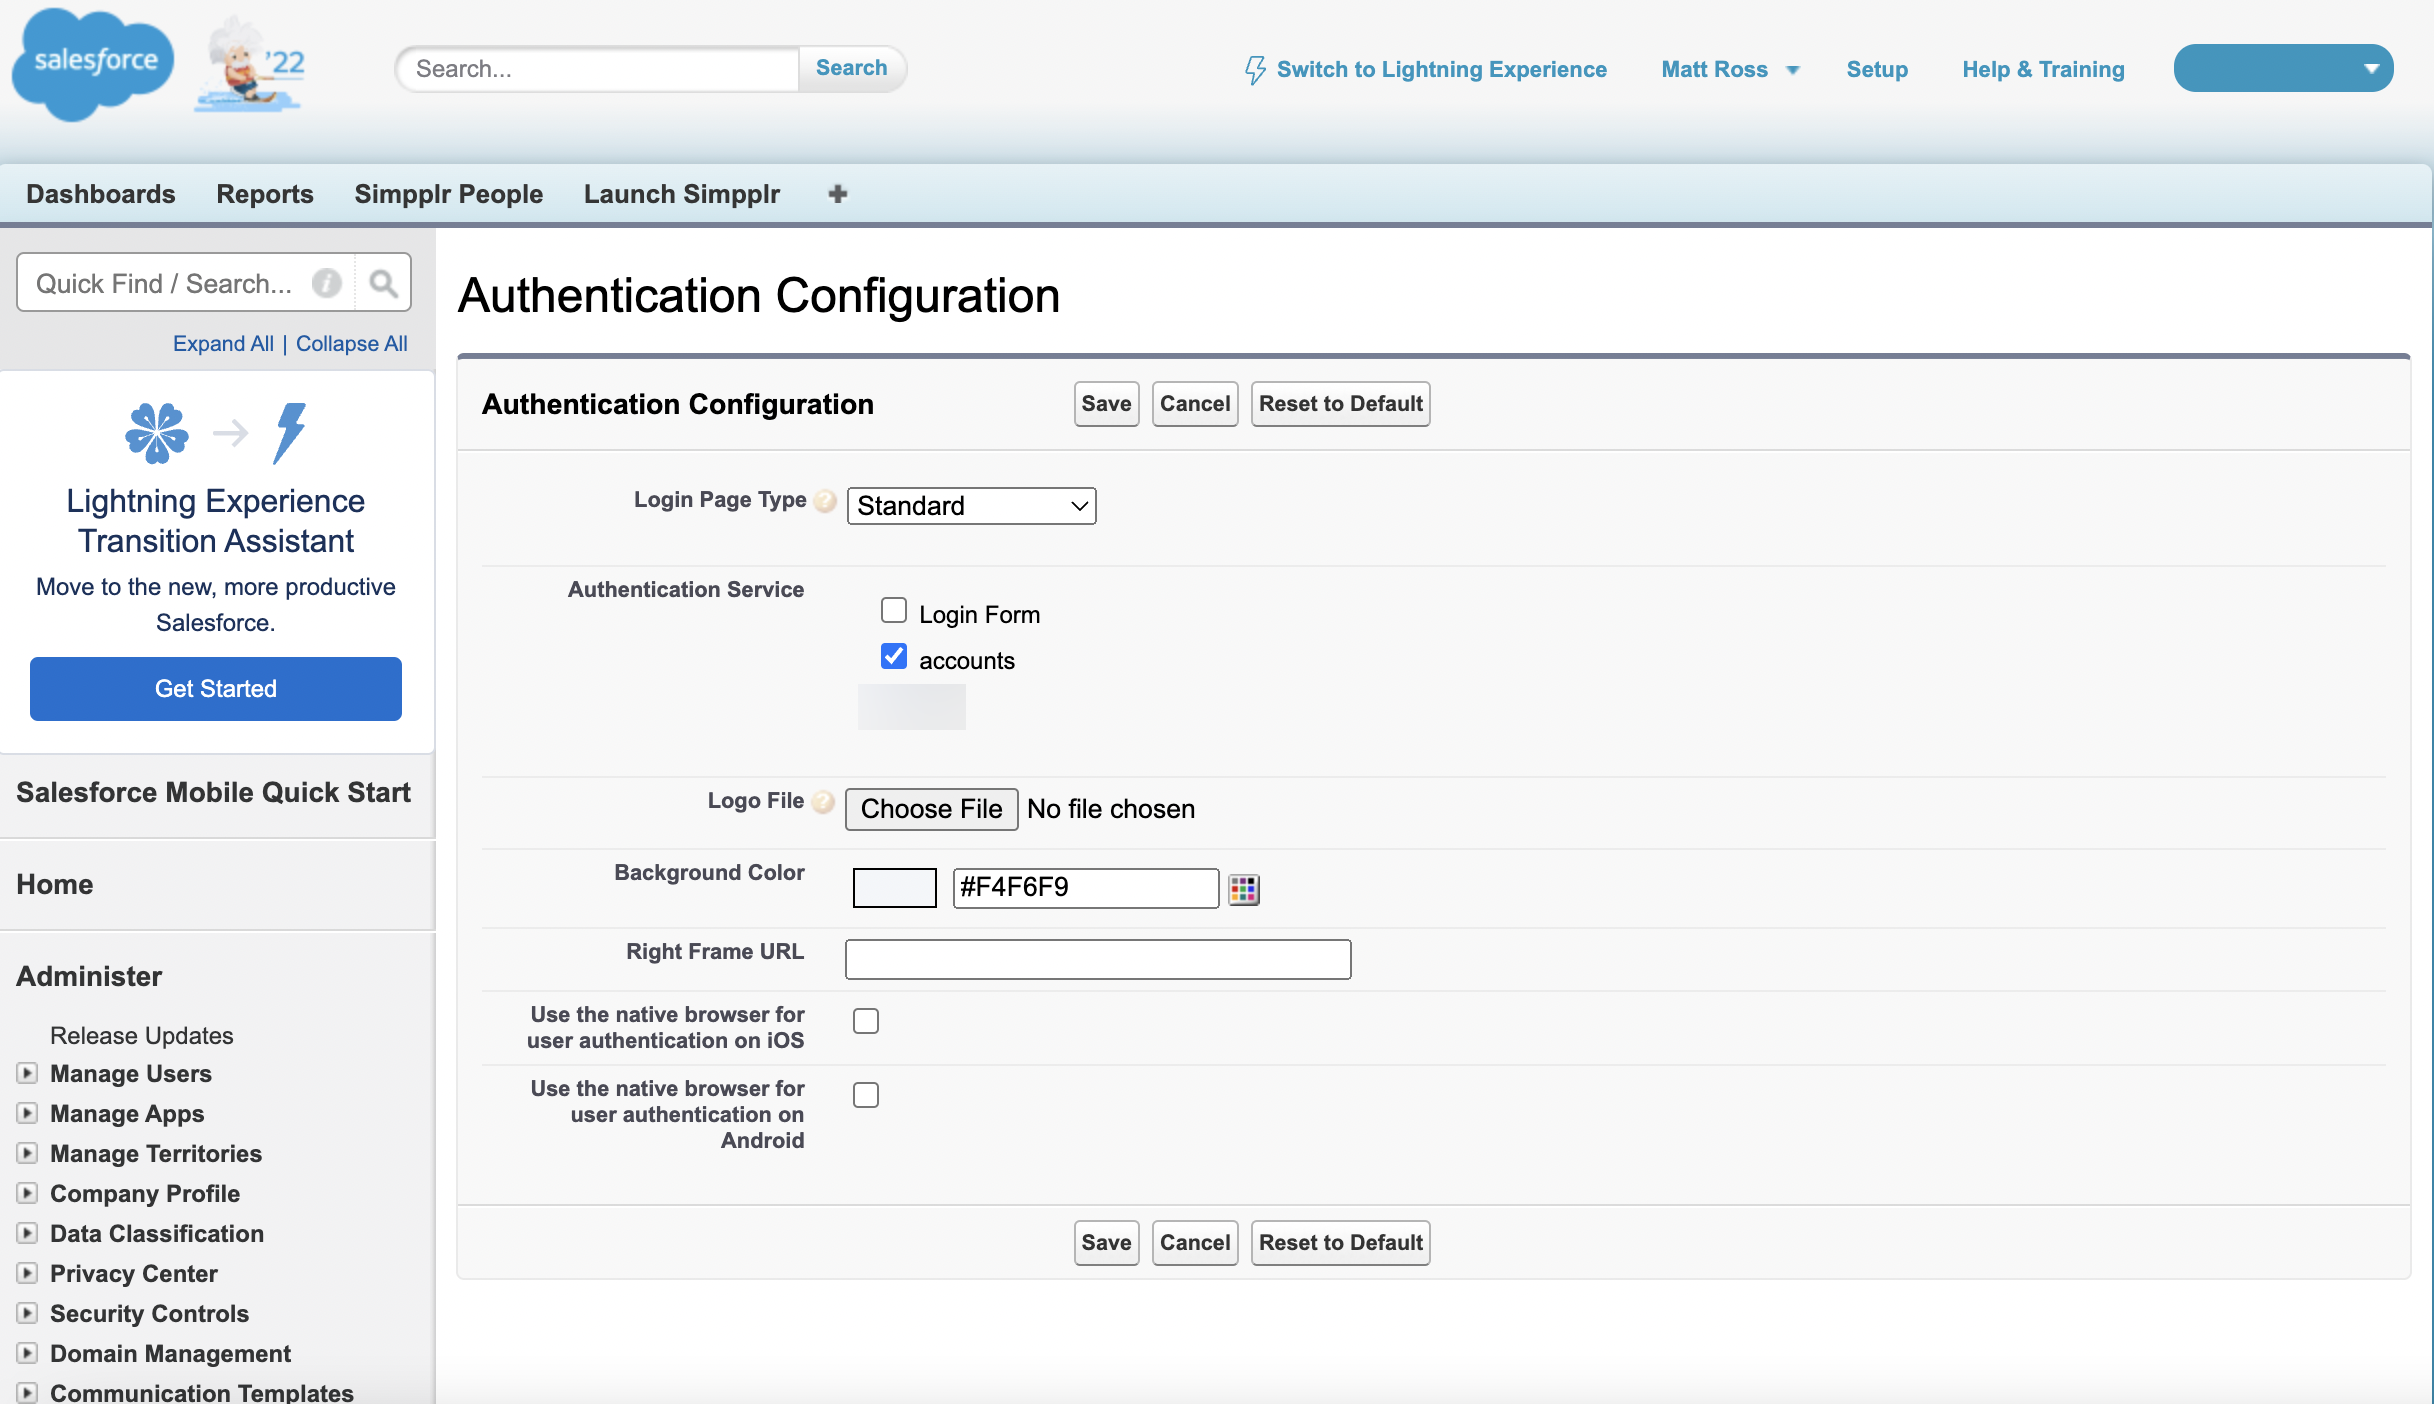
- From the Quick Find box, type My Domain and choose My Domain.
- Scroll down to Authentication Configuration and click Edit.
- Switch Authentication Service from Login Form to accounts (or whatever you named the SAML in the previous steps). Click Save.
For instructions on provisioning and syncing user data from Google, click here.
Comments
Please sign in to leave a comment.